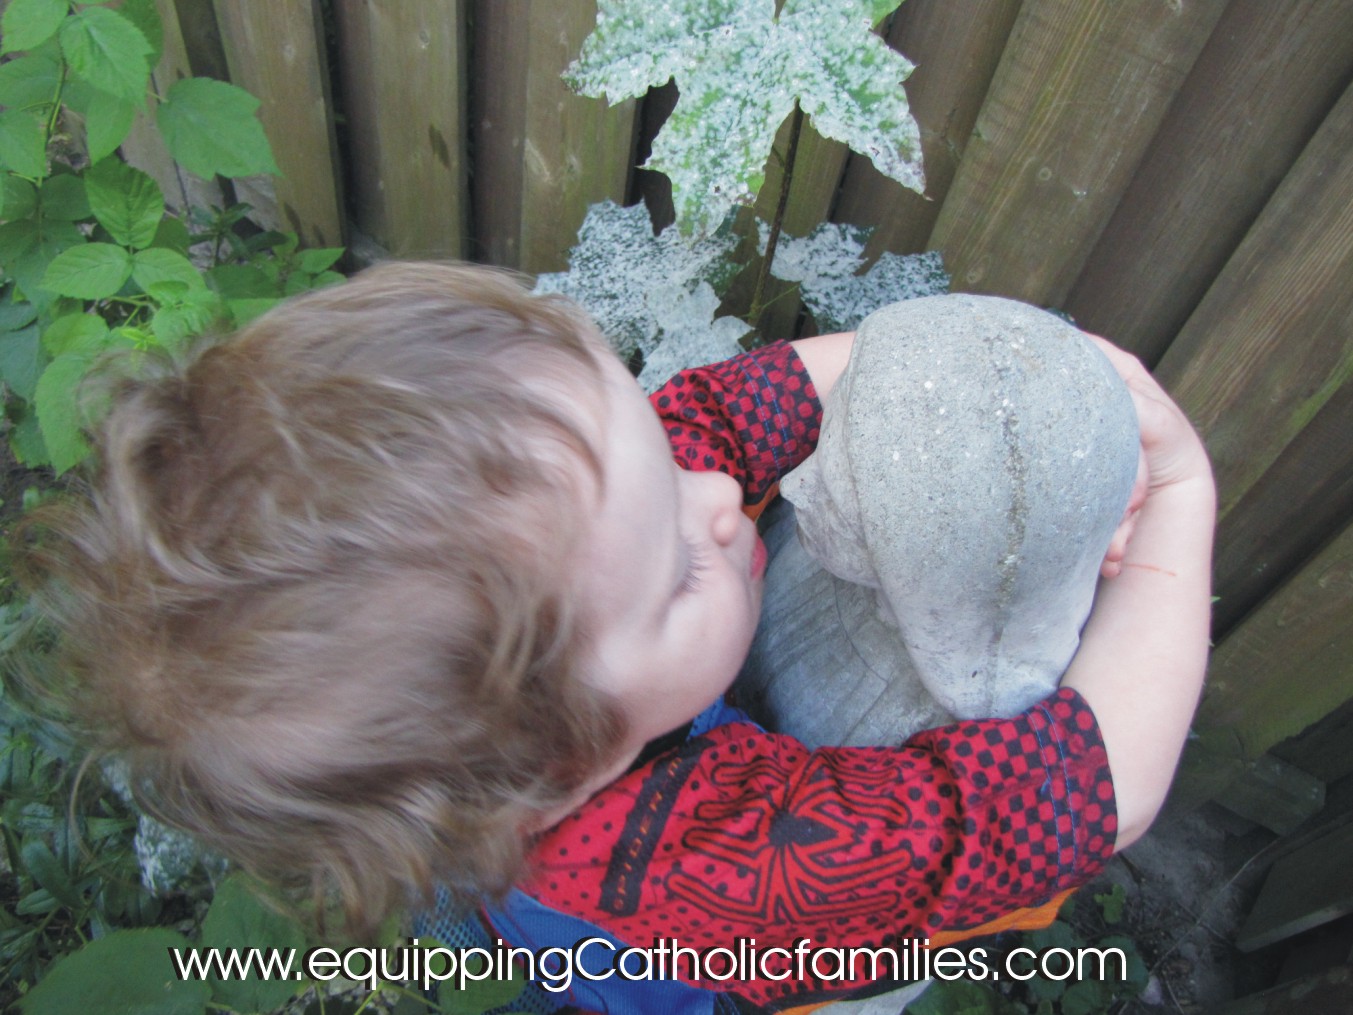
We have a special little Mary garden in our backyard and Adam still insists on visiting the statue of Mary and giving her a hug…almost every day!
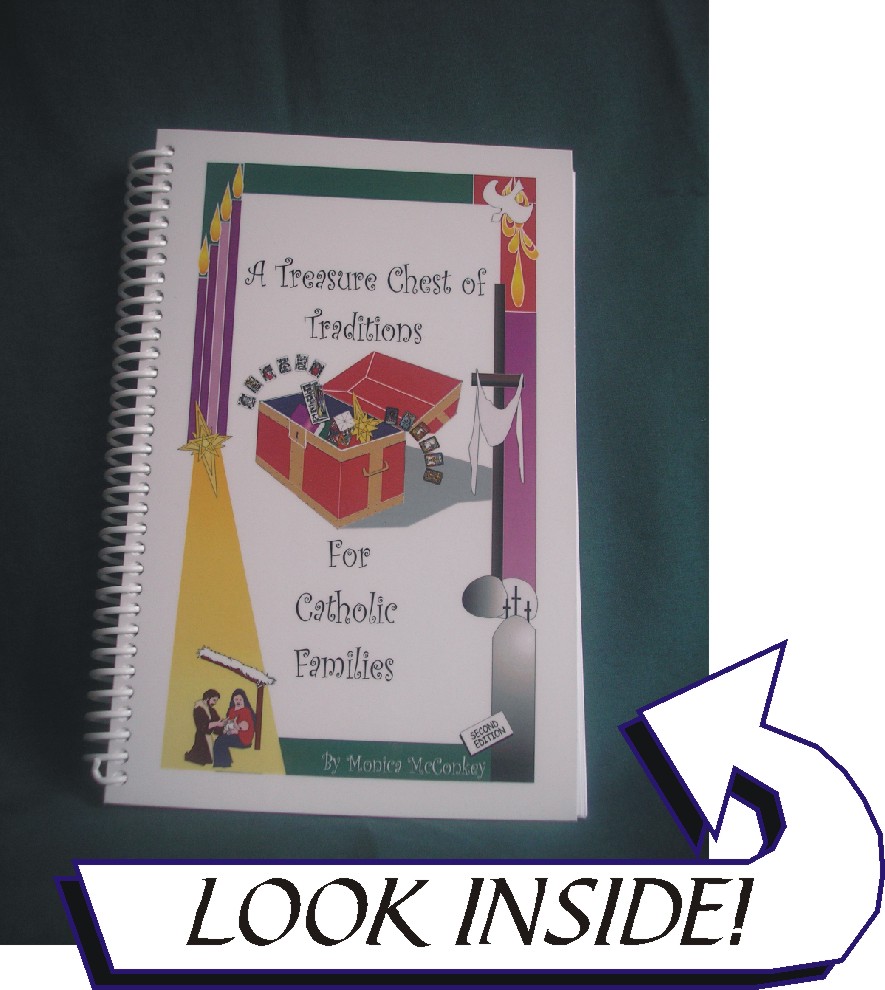
We also have a special Garden stone that we made over 12 years ago, as research for our book A Treasure Chest of Traditions for Catholic Families.
As described in our book, Mary Garden Markers can punctuate the Mary Garden offering subtle reminders of the intention of the garden to honor Mary. They can be positioned within the arrangement of flowers or used as stepping stones along a path when enjoying and maintaining the garden.
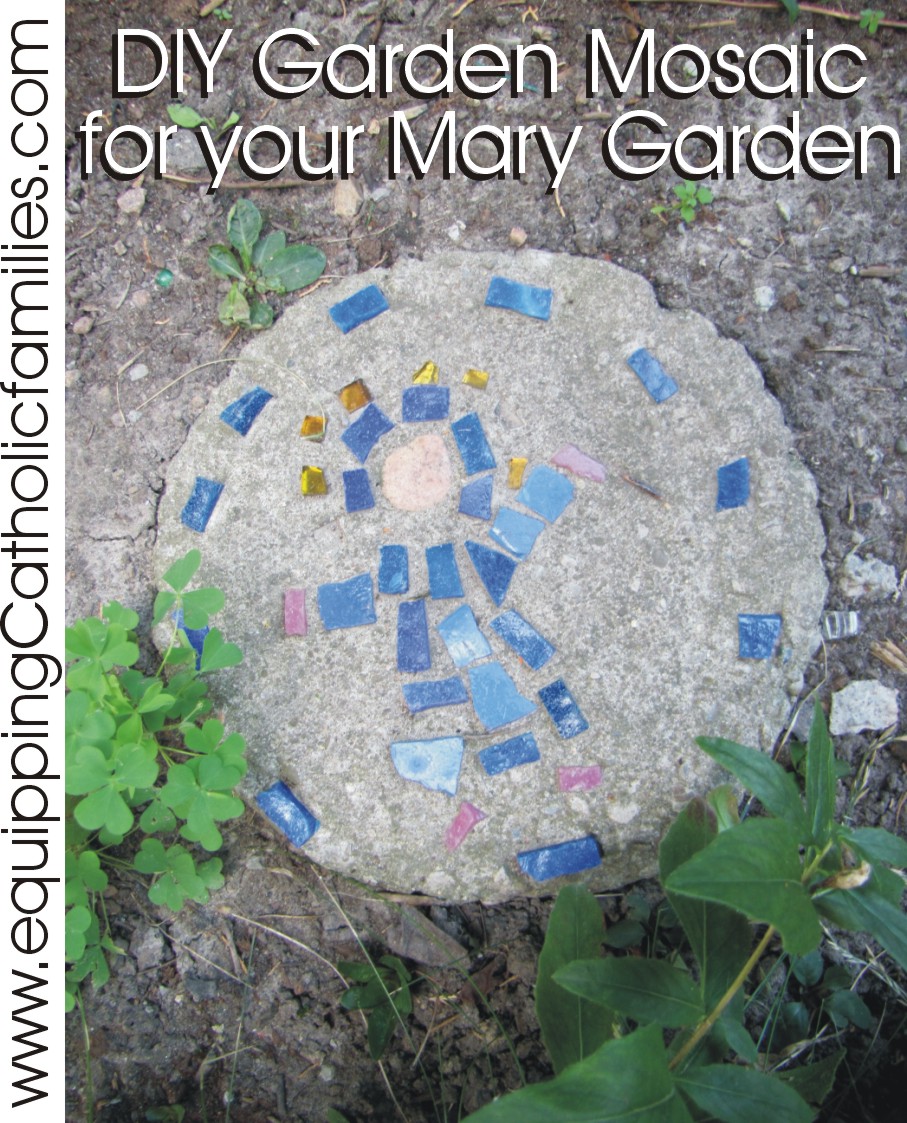
This is how we made our Mary Mosaic Garden Stone…over 12 years ago!
The concrete has dulled over time, and the edges have been worn a little, but it still is an important part of our garden. My buddies who helped make this stone 12 years ago…are now 14 and 17!
1. Although there are re-useable forms available at your local craft store just for this purpose, you can use an old cookie tin, collapsible cake tin, aluminum pan from the dollar store or a pizza box for the formwork. Just lay an unopened garbage bag over the formwork.
2. Bend and flatten a wire hanger to fit within the form, making sure that the wire does not extend beyond the expected height of the Mary Garden Marker.
3. Mix some concrete or mortar mix according to the directions on the bag, in a large bucket or garbage can, (preferably one that you plan on throwing out after). For one Mary Garden marker, scoop out approximately 2x the volume of the mold, of concrete mix powder. Add small amounts of water as needed and mix thoroughly with a small shovel, until no dry powder remains. The mix should be pliable, but not “soupy”.
4. Scoop out or pour the mixture into the framework. Stir the mixture within the form and gently shake the filled mold from side to side, on the ground. This allows air pockets to be eliminated.
5. Smooth out the top surface with a trowel, wooden spoon or toy shovel. Clean these tools well after, if you would like them to be useful again.
6. Special mosaic pieces are available at the craft store, but mosaic patterns can be made by placing pebbles, shells, buttons, marbles, colored glass pebbles, jar lids and bottle caps (sharp edge down) into the top concrete surface. Ensure that all sharp edges are positioned into the concrete so that only a smooth surface remains. When we made our original Mary Stone, we raided a special stash of mosaic pieces that Grandpa had collected (with his permission. =)
With the number of plates and ceramic figures that we seem to break every week in our house…I can only assume that carefully chosen pieces could be incorporated in a mosaic for sentimental reasons (if you too have given up crazy-gluing every treasure back together). Just make sure any sharp edges are pushed into the concrete, leaving a smooth surface for bare feet!
7. Designs can be created by drawing into the hardening concrete with a stick or pressing handprints or footprints into the concrete while it is still pliable.
8. Hose down the bucket (or garbage can) and any tools used in the concrete before the concrete hardens permanently.
9. After 24 hours, remove the dry concrete piece from the form, peeling away the plastic garbage bag. Sand any rough edges and place the hand-made garden stone strategically within the Mary Garden.
Have you spent some time with Mary lately?
Happy Birthday, Mother Mary!
Copyright 2013 Monica McConkey
About the Author


Comments