 Image by missyredboots courtesy morguefile.com.
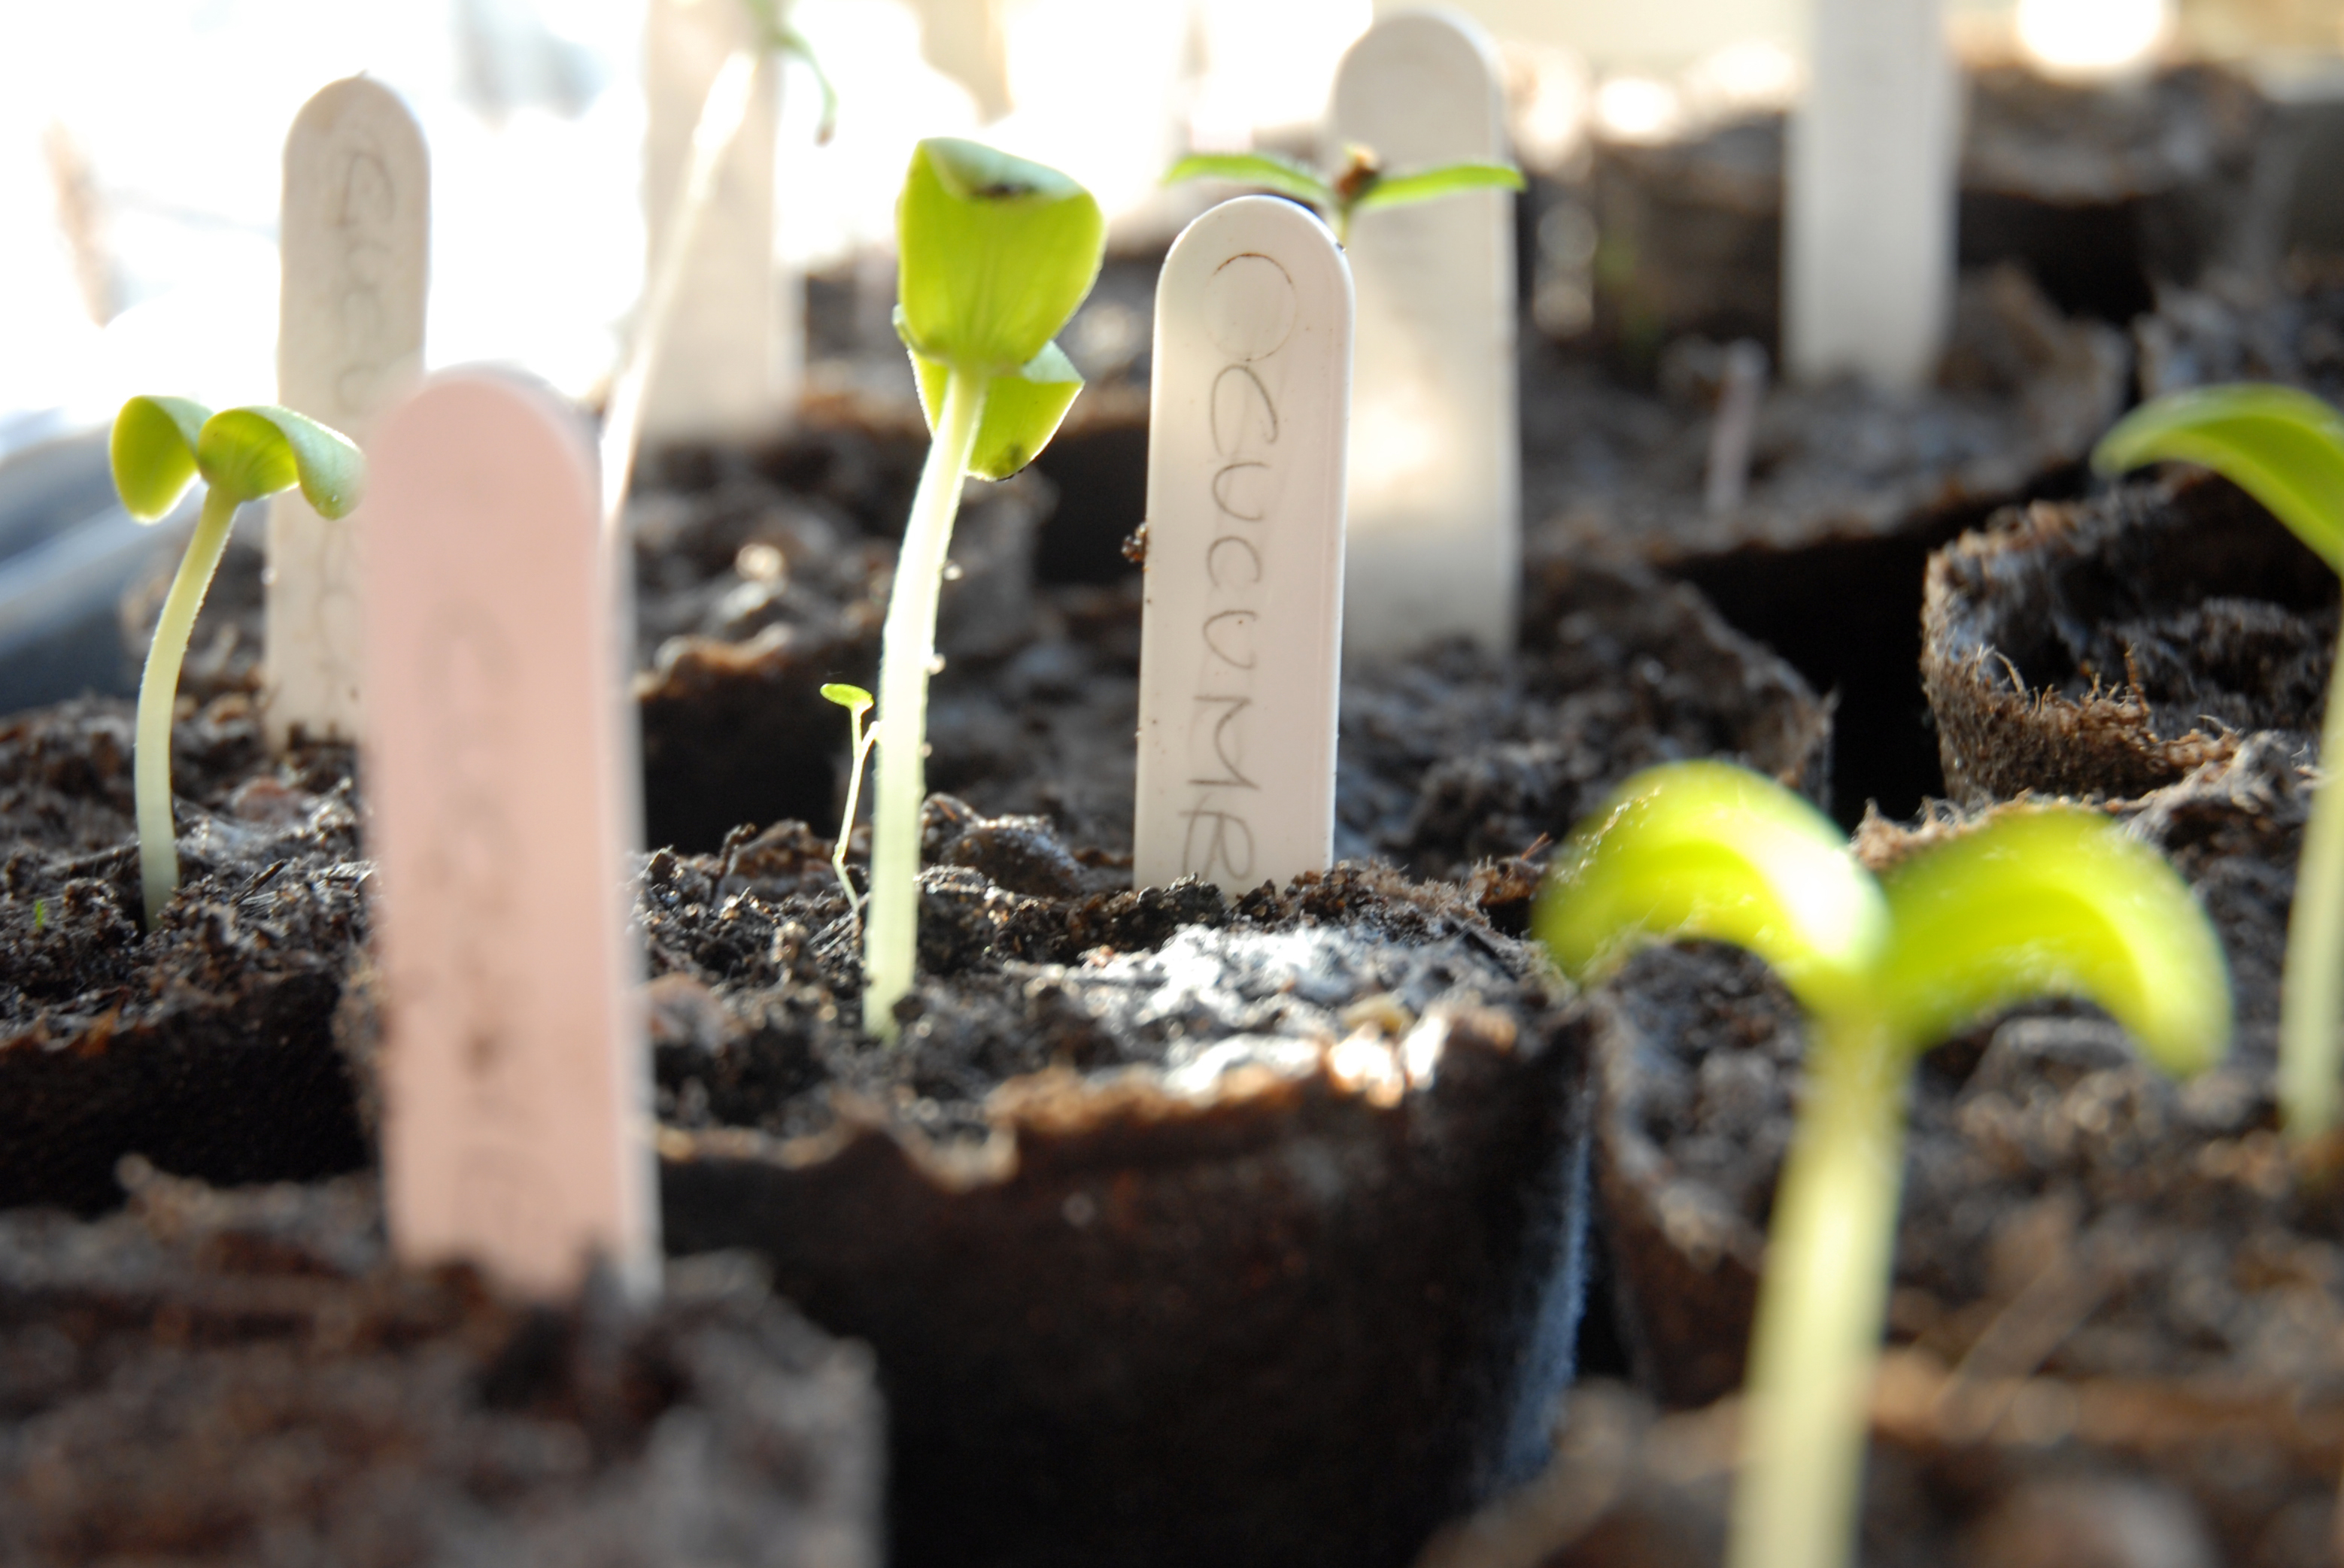
Few things produce more hope in the first few hours than a diet and starting seeds.
When considering growing your own seeds, remember that almost all seeds will germinate; it’s the growing-on that challenges. Home grown seedlings will be weaker and more spindly than commercially grown ones, and more prone to fungal diseases like dampening off.
As homeowners we do not have access to the commercial chemicals used to make these plants sturdy and vigorous. So if you want only a few plants, purchase them from local growers. Starting a few seedlings that are unusual plants or new varieties is the best option for new gardeners. Read my previous column on Managing Your Seeding Addiction to help you decide which plants to grow.
Timing is your first consideration. Do not start seeds too soon or they will become overgrown and too fragile for transplanting. All seed packets indicate number of days to maturity and approximate maturity period. Count backwards from that number to know when to start your seeds. The following indoor growing chart from the University of Minnesota will help.
After sprouting, seedlings need adequate light. A good light source is cool white or full spectrum fluorescent lights placed three to six inches above the seedlings. Windowsills or tables set next to a south facing window may work but be attentive. Light from windows are unidirectional and seed trays will need rotating. Also winter sunlight is very harsh and can quickly overheat and dry out tender seedlings.
Any type of a container will be fine as long as it has drainage and can be covered during germination. Place lipped cookie sheets underneath to protect surfaces that are covered with layers of newspaper. Soak fiber or peat pots before using. Use potting mixes specifically made for starting seeds. I have found mixing and sterilizing my own growing medium too bothersome for just a few flats.
Fill flats or containers with potting mix to within ½ inch from top and water thoroughly, let drain, place on cookie sheet. For each seed make a hole in potting mix with pencil to depth indicated on seed packet, for tiny seeds sprinkle across surface. Some seeds will only be covered with a fine layer of mix. Cover with clear plastic that has small vent holes. Do not place plastic covered containers in direct sunlight.
Temperature is important to germinating seeds and is best kept consistently around 70-75 degrees; a bit warm for most households. Watering is usually not needed during germination because you have covered a wetted mix.
When 60% of the seeds begin to sprout, and they usually do this all at once within 24 hours, remove plastic and place under light source. Pay very close attention to soil moisture and humidity. Too wet and fungal diseases will develop. Too dry and the tender baby plants will shrivel and die.
Copyright 2015, Margaret Rose Realy, Obl. OSB
Image by missyredboots; courtesy morguefile.com.
About the Author

Comments