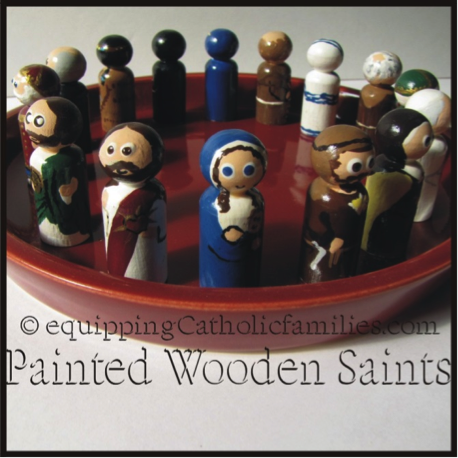
Our Wooden Painted Saints have attracted a lot of attention at recent Catholic conferences. These little wooden peg people are really fun to make so I thought that I would post a proper step-by-step tutorial.
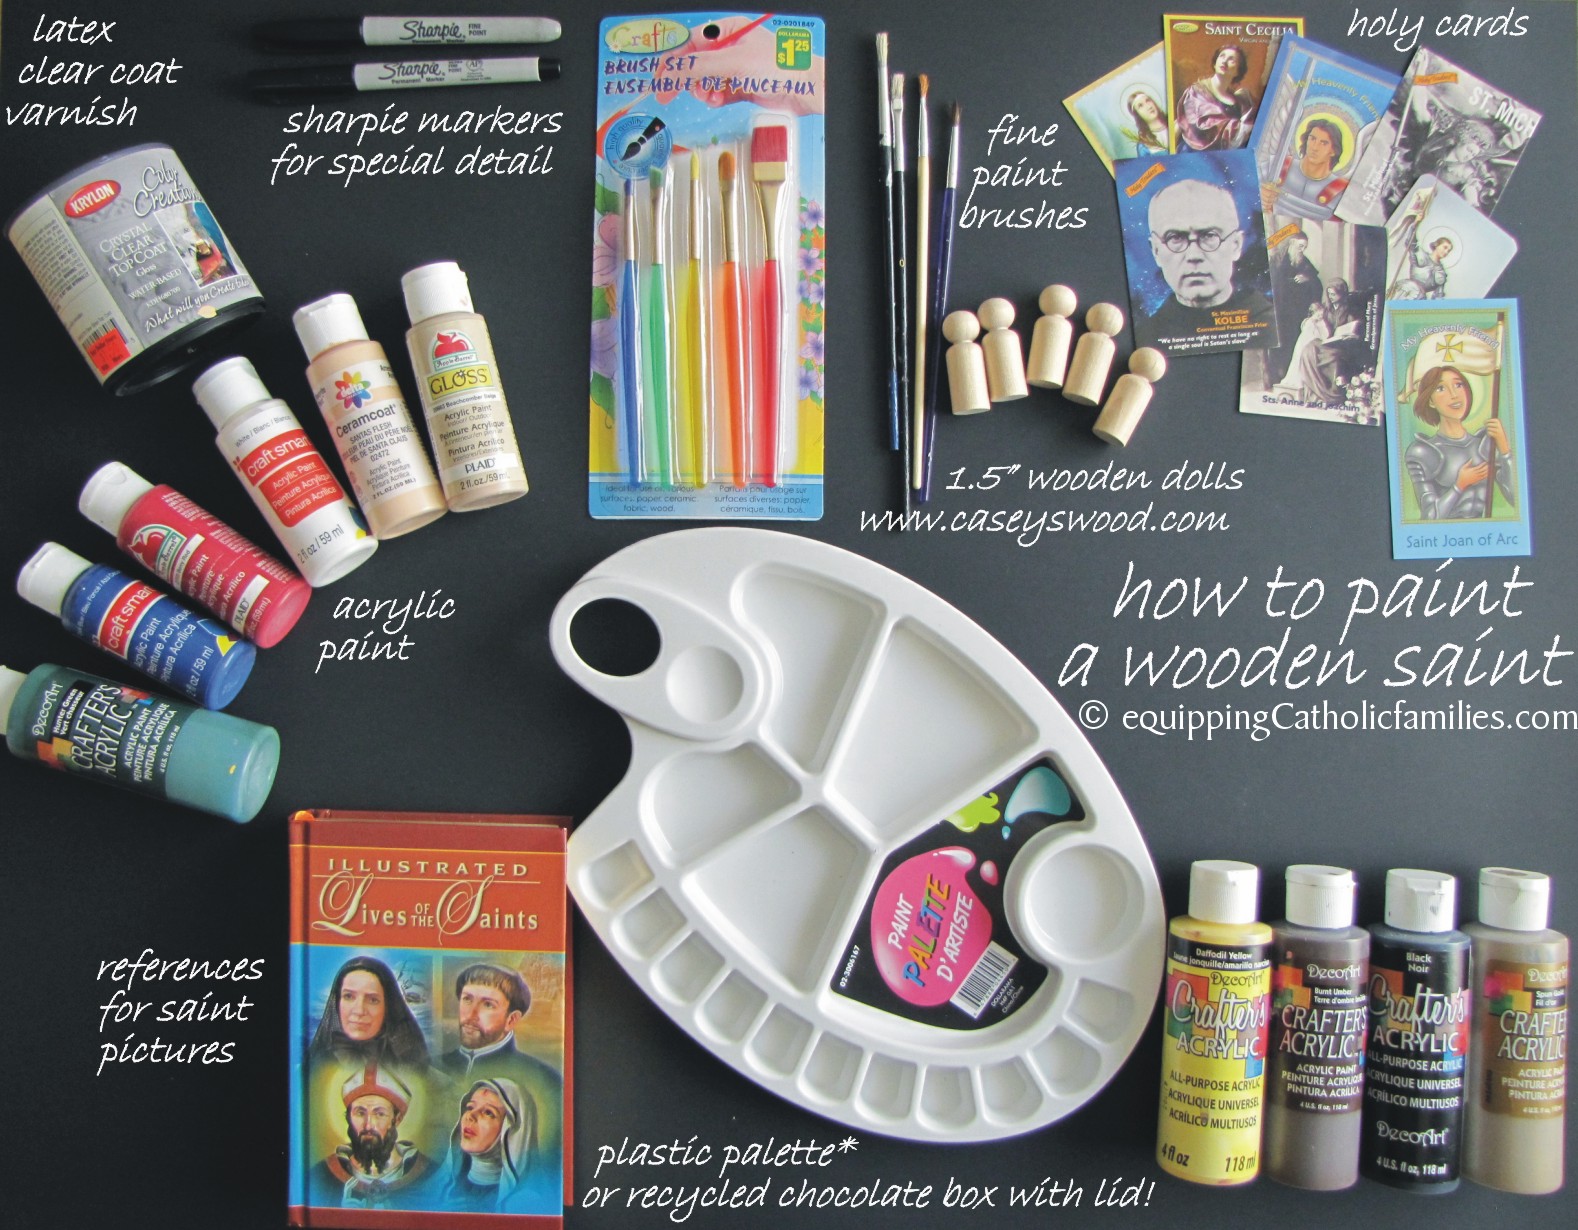
The Wooden Painted Saints require the following materials:
- Little wooden pegs from Casey’s Wood Products
- acrylic paint and a selection of thin paint brushes
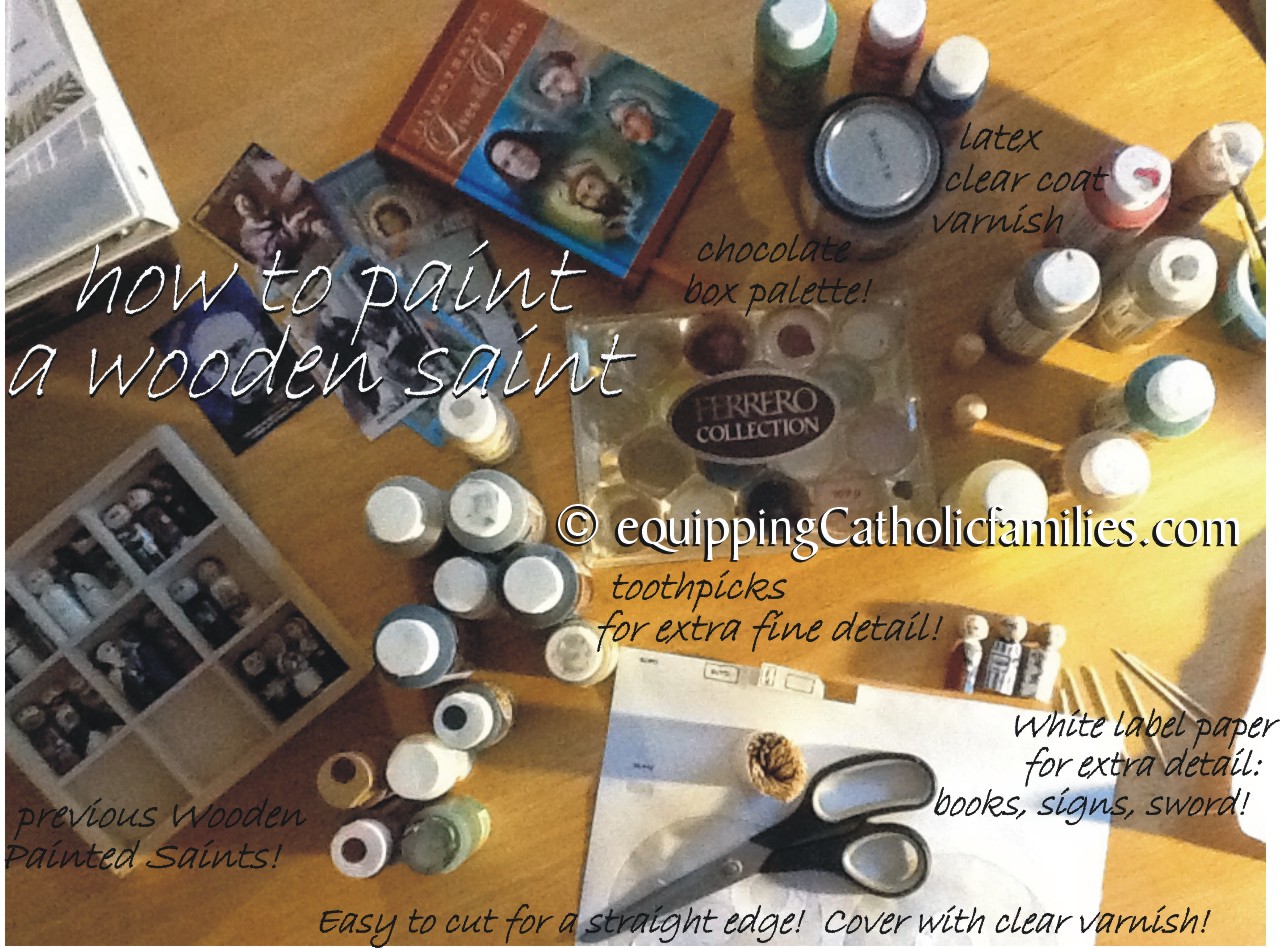
- toothpicks
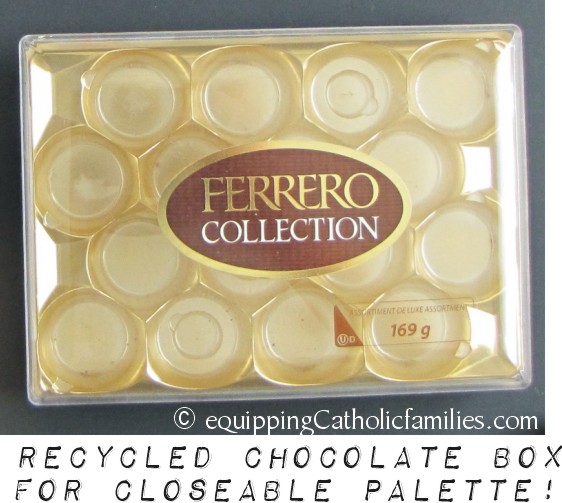
- paint palette or recycled plastic chocolate box for paint-saving palette!
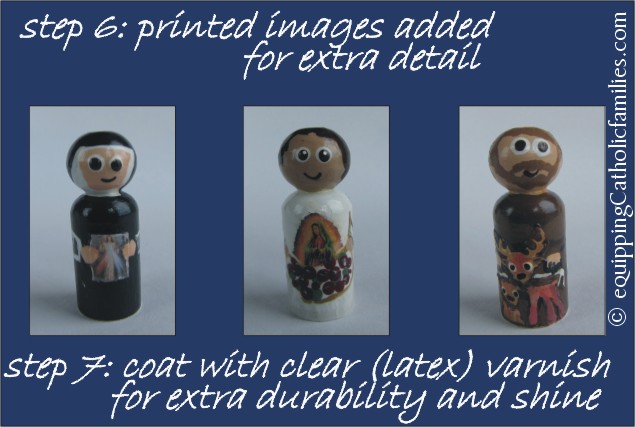
- holy cards, illustrated saint books and Google image search for Saint references
- fine tip Sharpie markers (very useful…but will likely destroy the marker for regular use!)
- clear coat varnish (I use latex for easy clean-up, Mod Podge would likely work as well)

The Wooden Painted Saints take time! You will need to wait for each layer of paint to dry before you handle them or add paint. Following the painting steps on three or five pegs at once takes advantage of drying time and each peg has ample time to dry between applications.
I have chosen very small wooden dolls! Boy Peg – 1-11/16″ Tall x 5/8″ Diameter (#1006) Larger wooden pegs will make details easier to paint!
Some people talk about Wooden Painted Saint Exchange Parties…where each member paints 10 or 20 of the same saint and they are exchanged so that everyone gets a full set of Saints! So far…I haven’t found friends willing to paint 10 or 20 saints!
For the complete Picture Tutorial, please check out the How to Paint a Saint Tutorial over at Equipping Catholic Families.
Note: this space is very enticing for little people! Don’t leave unattended unless you want some altered Wooden Painted Saints and a slightly messier work space!
Check out what we do with our Wooden Painted Saints…for use in classic board games, Christmas ornaments, treasure hunts, reward systems and limitless playtime with the Saints!
Copyright 2013 Monica McConkey
About the Author


Comments