 Copyright 2017 Abbey Dupuy. All rights reserved.
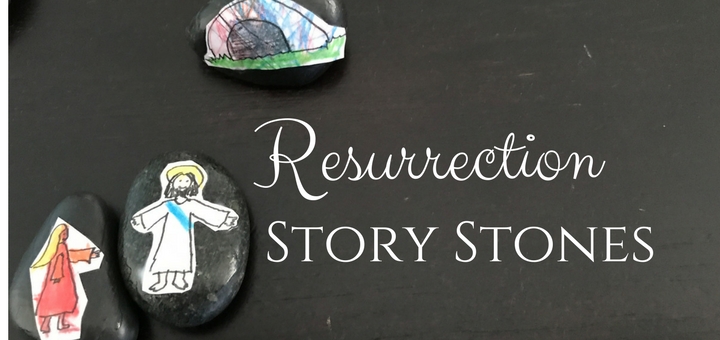
Happy Easter! Christ is Risen!
My two-year-old has been waking up every day since Easter Sunday, barging into our room and shouting, “Hey! It’s still Easter!” We giggle about his daily announcement service, but I really appreciate the reminder. Easter is a long season (fifty whole days!) and sometimes I can be too quick to move back into our regular routine and forget that we are still celebrating the Resurrection.
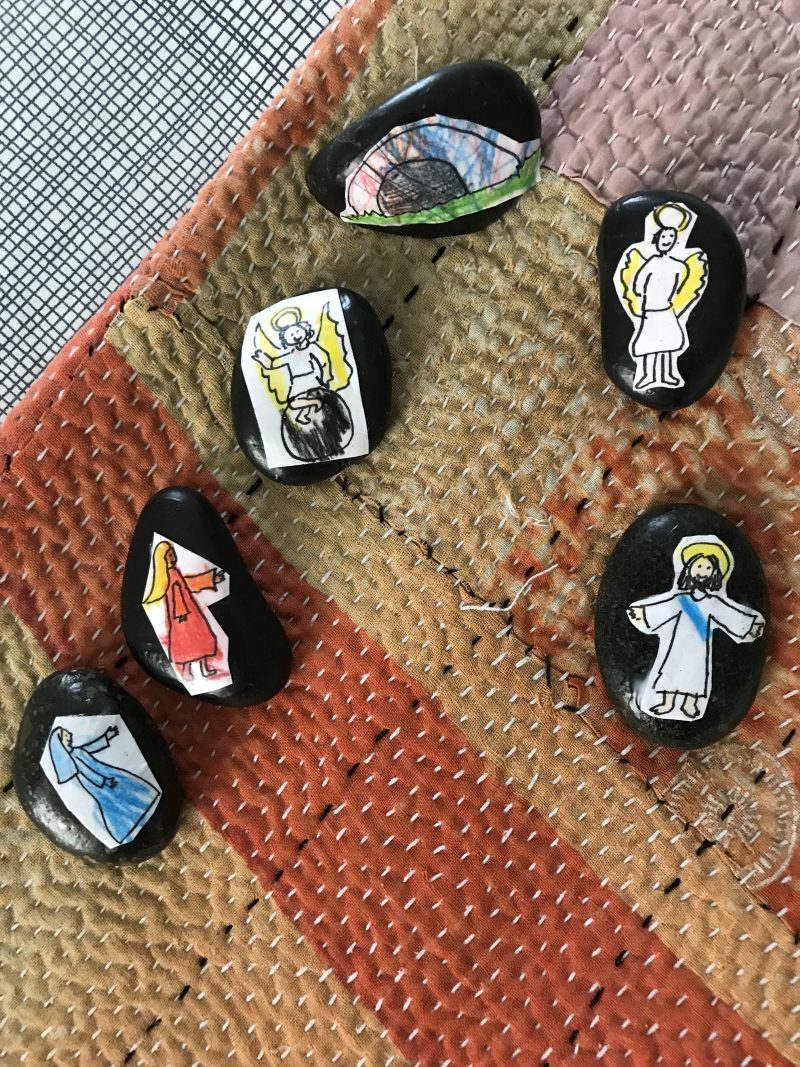
One way we’re keeping the celebration going this year at our home is by telling the story of the Resurrection with a set of story stones we made ourselves. In case you aren’t familiar with them, story stones are little rocks with pictures that children can use to tell a story. We use them a lot in our schooling as a way to engage more deeply with the stories we read.
Since the stories from the Bible are so compelling and so much fun to retell, my children often use our stones to tell those stories over and over again. This year, we decided we needed a specific set of stones to help tell this most important story.
[tweet "Make Resurrection Story Stones to retell #Easter story with the kids! @dere_abbey has how-tos"]
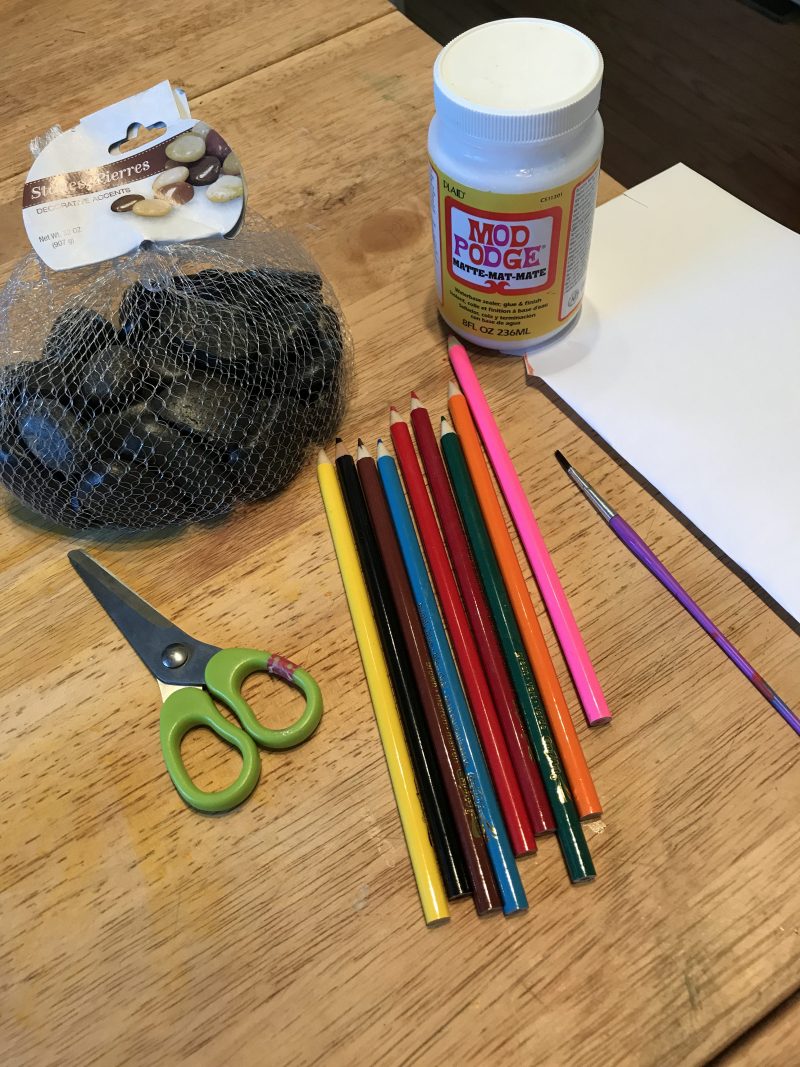
You can make your own set of Resurrection Story Stones at home. Here is what you will need:
 Copyright 2017 Abbey Dupuy. All rights reserved.
- stones for decorating (we got ours at Dollar Tree, but any smooth stones you can find will work)
- small pictures for coloring (draw your own or download this template)
- coloring materials (pencils, crayons or markers)
- scissors
- a craft adhesive (we like Mod Podge because it is strong, not too smelly and dries clear)
- a small paintbrush
If you prefer, you can paint your own pictures directly onto the stones with acrylic craft paint. We had better success using separate pictures and gluing them on. This allowed my youngest children to be more involved in the process, and we didn’t have to wait for multiple layers of paint to dry.
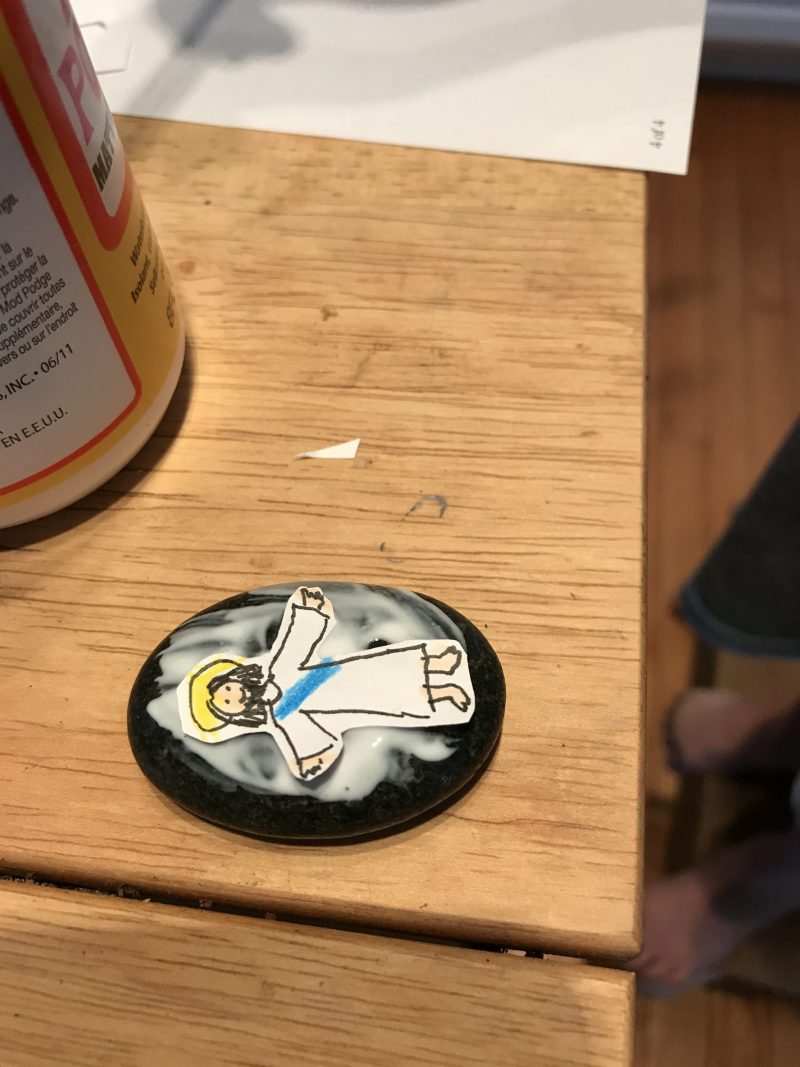
To start, make sure your stones are clean and dry. Then, draw or print out clip art pictures to put on your stones and color them. Be sure to size your pictures to fit the stones you have. Cut out the pictures.
Using the paintbrush, paint a thin coat of craft adhesive onto the side of your stone where the picture will go. While the adhesive is wet, carefully place the picture on top of the stone.
 Copyright 2017 Abbey Dupuy. All rights reserved.
When it is positioned correctly, paint another coat of adhesive over the picture, completely covering it.
 Copyright 2017 Abbey Dupuy. All rights reserved.
Let the adhesive dry for 30 minutes or an hour until it is no longer sticky.
Your stones are ready! Enjoy using them to tell the story of Jesus’ Resurrection and to keep your family’s Easter celebration going strong.
 Copyright 2017 Abbey Dupuy. All rights reserved.
Copyright 2017 Abbey Dupuy
About the Author


Comments