
Barb Szyszkiewicz checks out a recipe from a delightful new book from Paraclete Press, Dinner Party with the Saints.
It's a cookbook. No, it's a saint biography. No, it's a novel about what happens when there's a dinner party cohosted by an eclectic mix of saints in Heaven. No, it's a fun book for families to explore.
Actually, Dinner Party with the Saints is all of the above, and it's a wonderful read.

Author Woodeene Koenig-Bricker has imagined what it would be like if a bunch of saints got together for a party in Heaven -- right down to the place cards. Every little detail will charm the reader as we follow 16 saints from diverse time periods and regions of the world, to a dinner party with two surprise guests of honor. Along the way, we learn about each saint's place of origin, particular gifts and talents, and a little about the history of the time in which the saint was born.
The saints featured in this book include St. Martin de Porres, St. Francis of Assisi, St. Martha of Bethany (she made the place cards, of course!), St. John the Baptist, St. Kateri Tekakwitha (whose recipe we feature below), St. Teresa of Ávila, St. Andrew Kim Taegon, St. Augustine, St. Josephine Bakhita, and several more.
Recipe creator Celia Murphy put together a menu as diverse as the guest list for the party, including dishes that were authentic for the time and place in which each saint lived.
Don't stow this book on a shelf; leave it around for your children to explore. Invite them to choose a recipe (or more than one) and plan to cook it and enjoy it as a family. Let the story of a saintly dinner party inspire your family to celebrate together -- even on an ordinary Friday.
The author and recipe creator of Dinner Party with the Saints generously agreed to share one of the several meatless recipes with our readers.
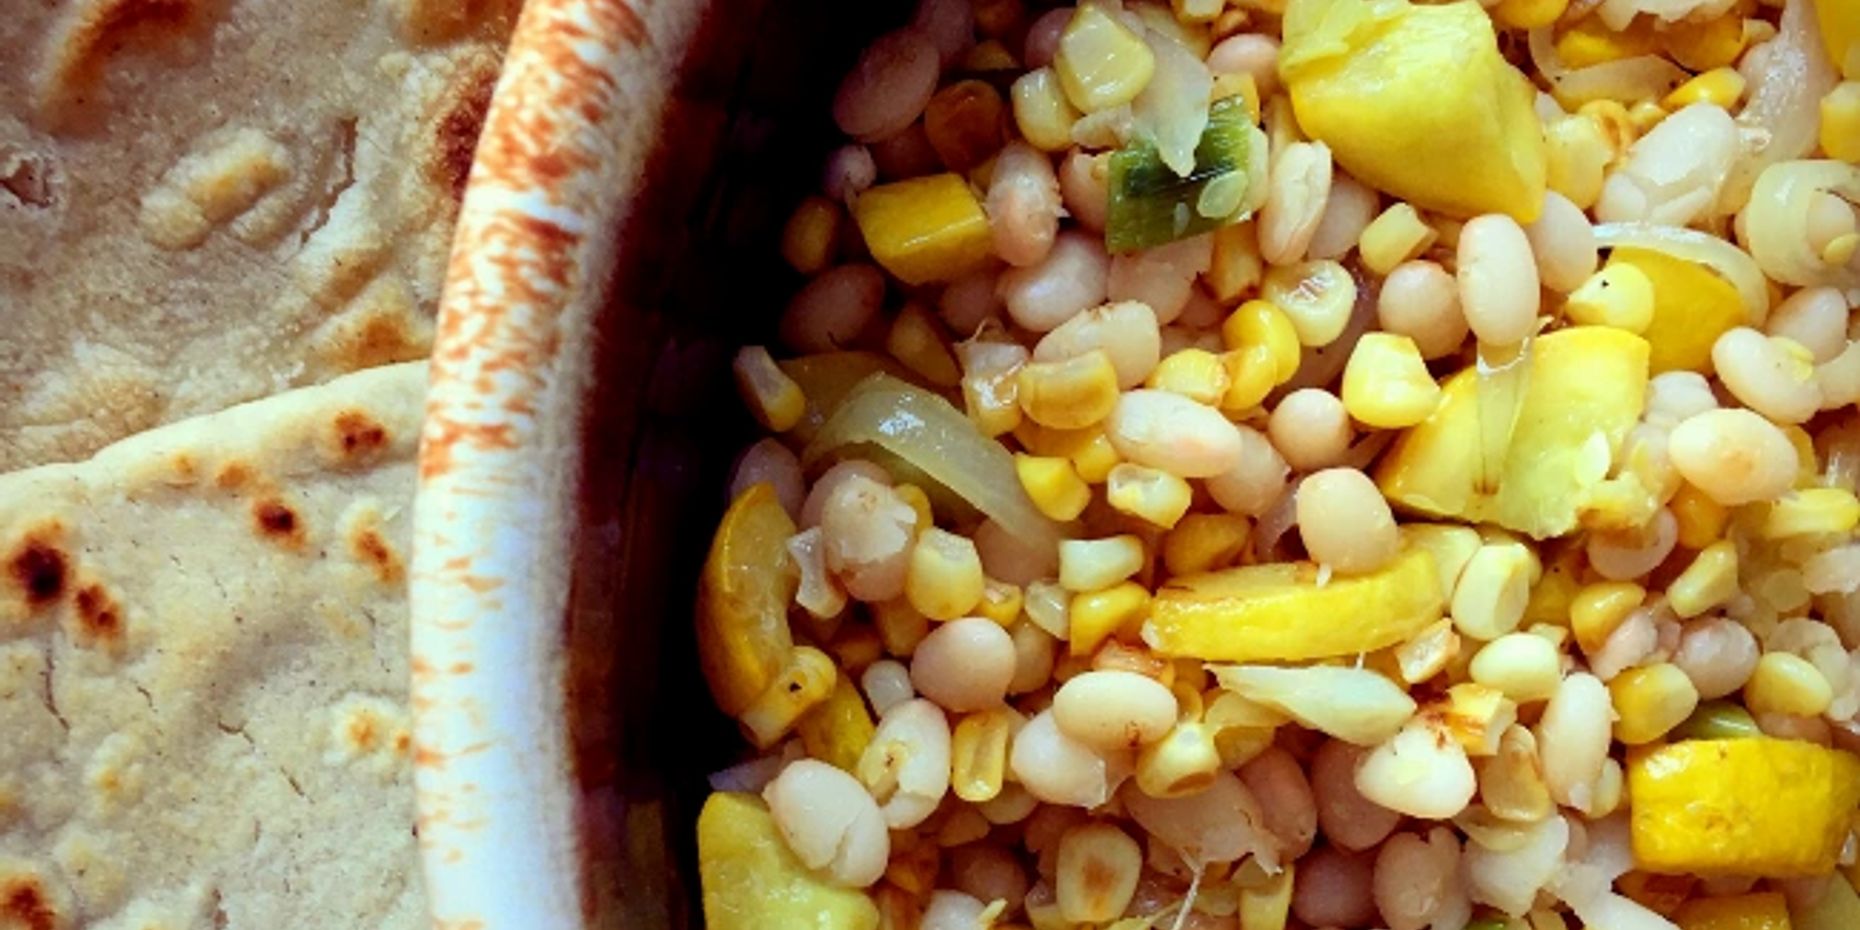
Three Sisters Corn Wraps with Squash, Beans, and Pan-Roasted Corn
Native Americans traditionally grew corn, beans, and squash together. The corn provides a place for the beans to climb. The beans provide nitrogen for the other plants. The large leaves of low-growing squash provide cover to cool the ground, retaining moisture for all to prosper. This powerhouse trio also provides excellent nutritional value.
· PREP TIME: 15 minutes
· COOK TIME: Vegetables 20-30 minutes; Corn 5 minutes; If using dry beans: 2 hours, 30 minutes combined soak/cook time
· SERVES: 6-8 People
· SERVING SUGGESTIONS: Serve as a side dish, with warmed tortilla chips,
or inside your favorite wrap.
· THIS RECIPE IS VEGAN AND GLUTEN-FREE.
INGREDIENTS
2 yellow squash
2 ears fresh corn or 1½ cups frozen corn
1 small can (12-15 oz.) white beans, rinsed and drained well or ½ cup dried small white beans cooked according to
directions below
1 medium yellow onion, sliced, then cut slices in half
1 clove garlic, chopped
2 green onions
3 tablespoons olive oil
Salt
Black pepper
DIRECTIONS
Preheat oven to 400 degrees.
If using dry small white beans
· Pick through the beans and discard any discolored beans or foreign items.
· Quick soak the beans: Place beans in small pot. Cover with water. Bring to a boil. Boil for 2 minutes. Move pan off-heat and let sit for 1 hour, covered.
· Cook the beans: Drain the beans after the 1-hour quick soak and return them to the pot. Add enough new water to cover the beans. Add ¼ teaspoon salt, stir. Simmer for 90 minutes, covered.
If using canned beans
· Drain the canned beans and rinse.
Roast the squash, onions, and garlic.
· Clean yellow squash. Cut the ends off. Cut in half lengthwise, then cut each half lengthwise. Cut into ¾-inch slices.
· Cut the root end off green onions, and then cut a couple of inches off the green tops. Cut remaining green onion into thin slices.
· Oil a baking sheet or spray with nonstick cooking spray. Place yellow squash, yellow onions, sliced green onions, and garlic onto baking sheet. Sprinkle with sea salt and black pepper. Drizzle with 2 tablespoons olive oil and toss vegetables to coat
in oil. Roast in a 400-degree oven for 10 minutes, then stir. Roast another 10-15 minutes, or until vegetables begin to brown.
Pan-roast the corn kernels.
· Remove husk and any corn silk from corn, rinse under cold water. Hold the corn cob vertically on a cutting board. With a sharp knife, cut the kernels off the cob. Some of each kernel should remain on the cob, otherwise you risk cutting the cob into your kernels.
· Heat a frying pan over high heat. Add 1 tablespoon olive oil. When oil is hot, add the corn kernels to pan. Sprinkle with sea salt and pepper. Stir and spread corn in a layer. Cook one minute or until corn begins to brown. Toss. Cook another minute or two.
· Add beans and roasted vegetables to pan with corn. Cook over medium-high heat until heated throughout. Serve.
Corn Wraps
The recipe for the corn wraps was omitted from the book due to its length. Here is the recipe for the wraps, should you wish to prepare them with the dish.
Prep Time: 5 minutes
Cook Time: 3-4 minutes each wrap. If you have a large griddle you can cook more at a time
Yield: Approximately 16 Corn Wraps
Special Equipment: A tortilla press is the best way to press corn wraps. If you don’t have a tortilla press, you can press using a cutting board or flat pan and two heavy duty plastic freezer bags or plastic wrap.
This recipe is Vegan & Gluten-Free! (as always, double-check that all your ingredients are vegan/ gluten-free when cooking)
Corn Wrap Recipe
2 ¼ cups Masa Harina Corn Flour (not corn meal)
1 Cup + 3 Tablespoons Hot Water
1/3 Cup Corn or Canola Oil
¾ teaspoon Salt
Put the Masa Harina and salt in a large bowl. Add the oil and combine with the Masa Harina using clean hands – pinch with your fingers to mix the oil and Masa while also stirring with your hand. Add the hot water. Mix well either by hand or with a sturdy spoon. If the dough is dry or crumbly, add additional hot water 1 tablespoon at a time. If dough is too wet, add additional Masa Harina a bit at a time. You want a dough that holds its shape.
Turn the dough onto a clean, dry surface. Knead until smooth, about 3 minutes. Again, if it becomes too dry or too sticky, adjust with water or Masa Harina. Cover dough with a wet paper towel to keep the dough moist, and a clean kitchen towel over that.
Pull off pieces of dough, about the size of a golf ball, and roll in hands until it forms a ball. Keep your dough covered while you work. Cover the dough balls with a damp paper towel and a kitchen towel over the paper towel.
Heat a cast iron or frying pan over medium-high heat. If you have a second pan or a large griddle surface, you can cook several at once.
To flatten into rounds: Place heavy-duty plastic (freezer) bag or a 14” length of plastic wrap on counter. Place dough ball in center. Cover with another plastic freezer bag or piece of plastic wrap. Place a cutting board on top. Bang down on the cutting board forcefully about 10 times in the area where the dough is, moving outward from where the center of the dough would be. You can use a kitchen mallet, rubber mallet, large can on its side, a hammer, or anything you can “hammer” the board with. You’re trying to get the corn wrap as thin as you can.
Lift the cutting board and the top freezer bag or plastic wrap. Carry the wrap to your hot pan, and gently lift off the plastic and place in pan. If you find it comes apart during this process, simply invert the plastic over the pan and place the dough on the pan, being careful not to let any plastic touch the pan or hot surfaces.
Cook on one side until you see the top surface puffing up a bit – about a minute. Flip to other side and cook for about a minute. There should be golden brown spots on both sides . If not, flip and continue cooking. Continue until all corn flats are cooked.
As wraps are done cooking, place under a clean dry towel. Do not stack wraps while they are cooling. When cool, stack wraps and wrap them in plastic wrap or keep in an airtight container, or keep in a tortilla warmer if you have one.
Book review copyright 2021 Barb Szyszkiewicz
Recipe for Three Sisters Corn Wraps reprinted with the kind permission of the publisher, Paraclete Press. Copyright 2021 Woodeene Koenig-Bricker and Celia Murphy. All rights reserved.
Bonus recipe and photo for Corn Wraps copyright 2020 Celia Murphy; reprinted with the kind permission of the author.
This article contains Amazon affiliate links; your purchases through these links benefit the author.
About the Author


Comments