
In 2011, our family took a once-in-a-lifetime vacation: we went to Florida and spent two weeks on Disney property, visiting parks and family and friends in the area and generally having an awesome time. Because it was such a huge vacation, we asked our girls to consider it their Christmas presents. All year, they’d tell people they were getting Disney World for Christmas!
They didn’t ask for anything else, but my husband and I agreed that we wanted them to really get Disney World for Christmas! So throughout our visit to Florida, I took pictures with a goal in mind: I was going to use iPhoto on my Mac to order photo books for the girls. They’d get keepsakes of their epic trip with some of our favorite moments from each of our action-packed days, complete with pictures of the family that we were able to visit. They were surprised at the gift, and I couldn’t have been more pleased with the quality of the books! For the amount I spent, it was well worth it.
I apologize right now to Windows users; iPhoto is a Mac program (it comes on every Apple computer, out of the box), so it’s not something folks on a PC will be able to use. But if you are a lucky duck with a Mac, this is just the kind of present that’s perfect for far-flung relatives who miss you and your family!
Ordering the books is simple. Go through your pictures (iPhoto splits them into daily events, unless you choose to split them otherwise), and select your favorite pictures as a group. Then from the “File” menu, select “New Book” (or calendar or card - you can have those printed up, too!). A new project will appear in the left sidebar. If you go into a new event and pick more pictures, you can simply drag them as a group into that project, and iPhoto saves them as possible pictures to use in your new project.
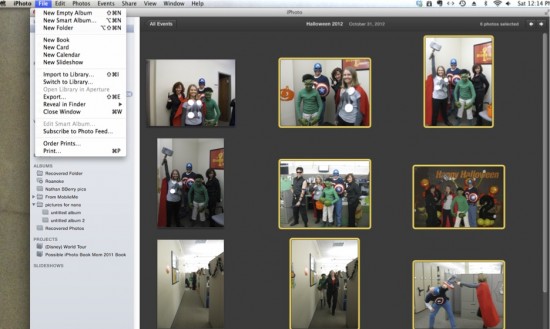
You can also “flag” the pictures, if that’s your style. This does, however, put them all in one folder together, so it’s not always easy to pick out just the project you’re working on.
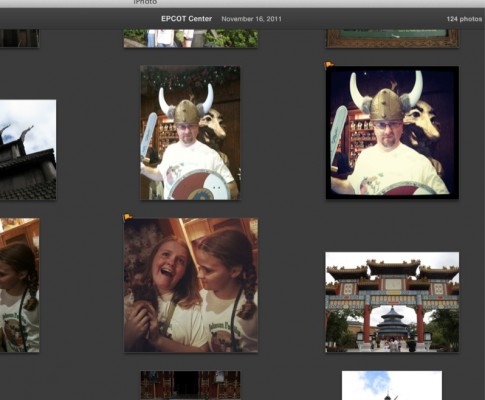
(Caption: “A Moose Bit My Sister Once”)
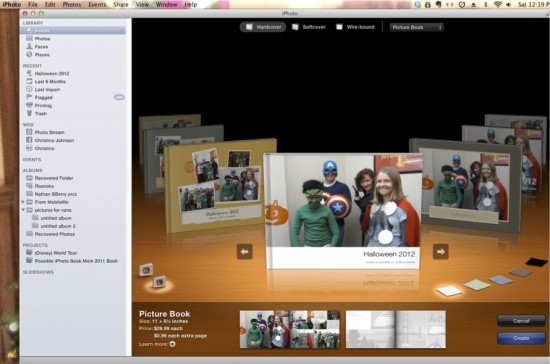
Once you’ve got enough pictures, select the project and pick a theme for your book. iPhoto is really sweet (and this is the newest version, and a new feature): it gives you the prices for the various kinds of books you’re looking at: hardcover, wirebound, softcover. Lost of options to pick from.
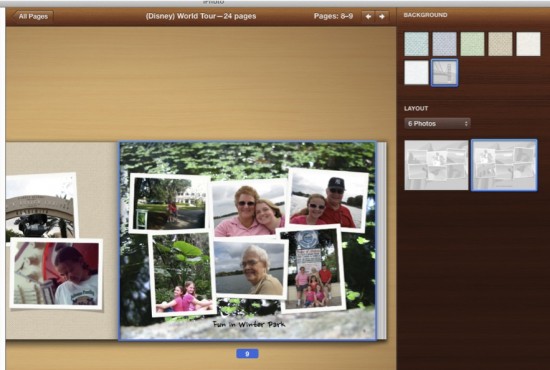
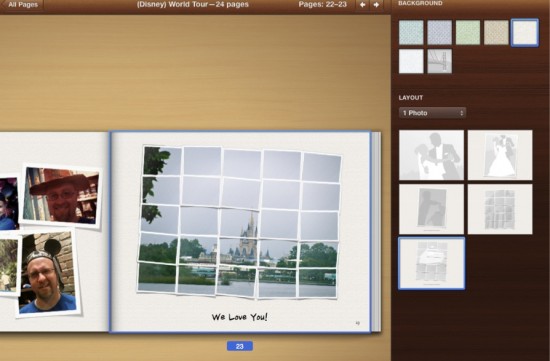
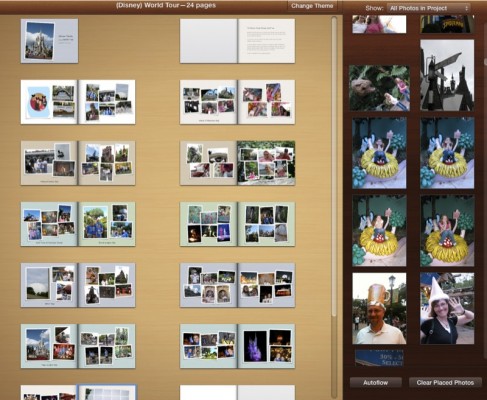
Once in, you can “Autoflow” your pictures, where iPhoto just fills in the spaces on pages for you, also selecting the format for each page, or you can select each picture yourself. Don’t worry, if you didn’t like the Autoflow, you can change things up once it’s in. You can even use your own pictures as a background behind the main pictures! If you are into artsy pictures, and you get them home and think, “Now what do I do with that?” well, this is your answer.
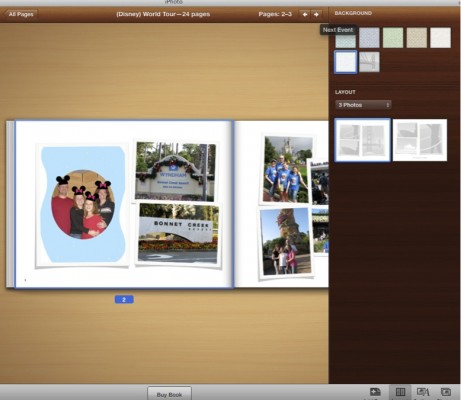
One thing I really liked when ordering our (Disney) World Tour books was that I could add text, including an entire page of text to explain the trip. I knew the girls would remember, but I thought it would be a nice thing to add, especially if they show someone else their books (like my grandkids!).

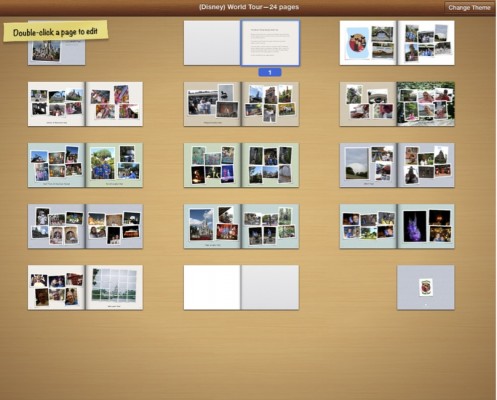
Once you’ve got things filled in, you can look over the entire book in thumbnails to make sure you really like it.
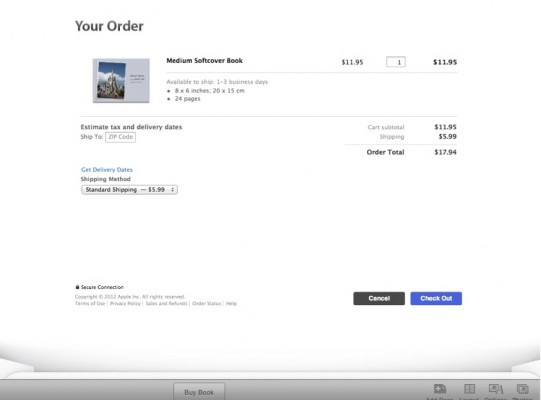
And then you’re ready to order! There’s a handy button right in the program that brings up an order form; just fill in the appropriate information and order however many copies you’d like.
I knew the books would be nice, but I was really pleased with the results, and the girls loved them! I’ve since ordered a book for my parents, who live in Florida and don’t get many opportunities to see the grandkids.
I plan on getting more in the future, especially since our closest relatives are a day’s travel away. For us, it makes a great Mother’s Day or Father’s Day gift. It could even be used as a keepsake for a child about to graduate, or who has just hit a great milestone (First Communion or Confirmation, perhaps?).
Copyright 2013 Christine Johnson
About the Author


Comments